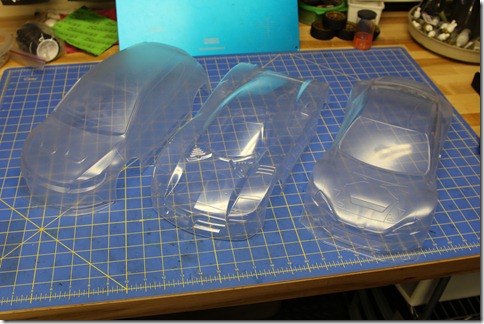
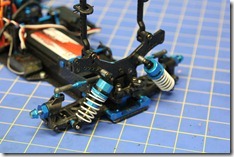
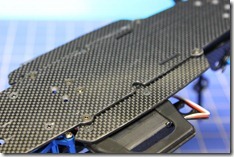
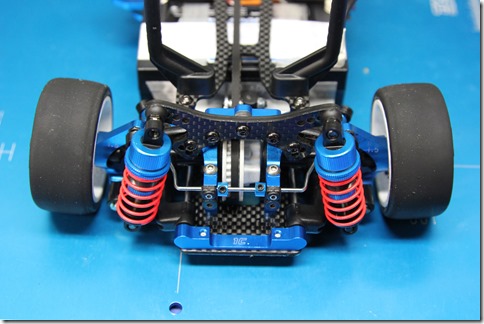
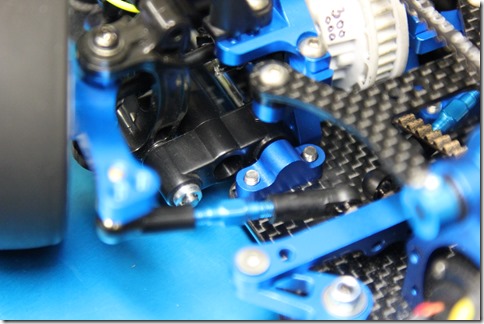
From left to right:
On this site I'll try to cover all the things I do with my Tamiya cars. I'm just a regular guy that wants to share his excitement and maybe give some useful information to someone along the way.
Monday, December 31, 2012
M06 Pro
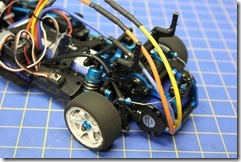
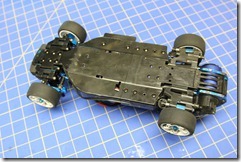
I recently finished my M06 Pro, which I was somewhat apprehensive about getting since my M04 was my least favorite car to drive so far. Word around the Tamiya track was not to worry, this one is much better. It’s a proper M-Car. And after taking it for a drive I can for sure say that it is. The pro kit is now discontinued and the new M06R is a better choice. I’m not sure how I feel about red alum color, not that there’s a problem with red in itself, it’s just the look of it when you start mixing in blue parts from other chassis it will look a little hodge-podge. Other than color the biggest difference is the Clamp-Type Upright Weights the R kit has.
As I have been doing recently, I ordered some must-have hop-ups before doing the build. I know I am going to use them, so better to put them on during the initial build instead of tearing much of the car apart to replace later. Below is a list of the hop ups I got:
- Rear Alum Damper Stay Mount
- Rear Carbon Damper Stay
- Front Carbon Damper Stay
- Carbon Battery Holder
- Alum Servo Mount
- Alum Gearbox Plate
- Alum Motor Plate
- Alum Front Uprights
- Alum Rear Uprights (2.0)
- M03 Univ. Shaft
- LW Alum Swing Shaft
- Alum Wheel Hub (4mm – I didn’t have any 6mm laying around)
- Stabilizer set
And for dampers I used the TRF Mini Dampers from my M-Four on the front and TRF Special Dampers for the rear. Similar trick that worked well on the M-Four. Well… that and I had two short and two long dampers left over ![]()
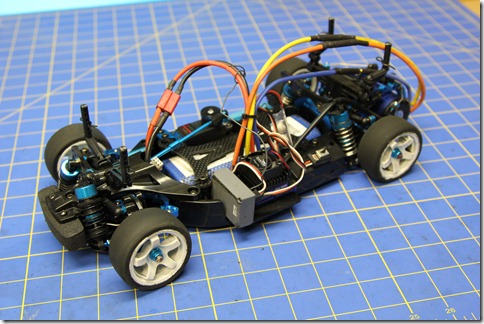
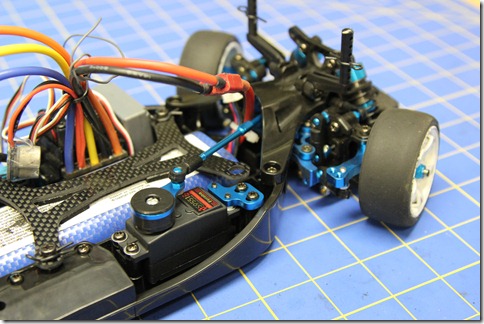
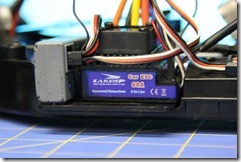
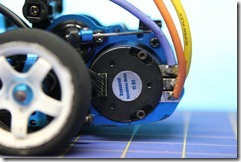
For electronics I used Futaba S9551 Servo, Spektrum Receiver and tried out the very cheap ($80) Keda Saker Brushless ESC/Motor Combo (17.5). Which on my first run was about on par with a Tamiya Silver Can.
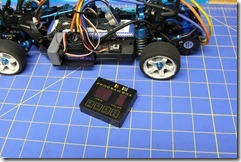
The sensor wire barely reached on this Medium Wheelbase build, had I done it long it probably would not have reached. And due to the rear stabilizer location the motor tabs had to face all the way to the back (and to get the sensor wire mounted). Motor ran very cool and the ESC comes with a great programming box (better than the gawd awful LED color and blink decodes as on the Novak!).
The “pro tip” from Tamiya track was used for tire setup again. Sweep SWP-MN40 in the front and SWP-MN25 in the rear. This worked good even on the cool surface inside West Coast RC Raceway in La Mirada, CA. As with all RWD cars, care must be taken not to get on the throttle too early. But This car was easy to drive and handled really well. I was actually quite surprised and my friend who bought my old M03R with NIMH and silvercan were even on speed and had a great battle. Such a great battle that I had to shoegoo my body back quite heavily. I used the Alfa Romeo Giulia Sprint body shell. It looks so cool, I have to get a new one one of these days.
Amazing Tamiya Catalogue
I remember finding this a while back, but the name is somewhat obscure and google-ing for model numbers normally return stores.
It’s very cool, bookmark it and name your bookmark it as something you will remember. http://www.rcscrapyard.net/tamiya.htm
FF03-R (Upgraded)
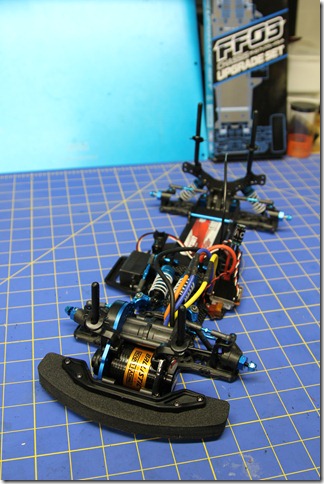
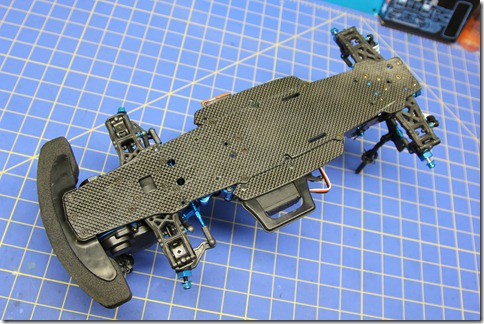
I bought the FF03-R a while ago and before I started building it I ordered some hop-ups from RCMart. I waited and waited for those parts to arrive and turns out EMS lost my package. Hong Kong Post said package left country, US Postal said never arrived in country. After many emails back and forth rctmart gave me store credit minus the huge fee for EMS speedpost (yay I got charged for a lost package, great!).. Well, so much time passed that I saw the news about the FF03 Chassis Upgrade Set over on tamiyablog. So I figured I would wait for that since I had been focusing on the M-Four recently. In preparation I ordered some FF03 hop-ups again. The Carbon Motor Stay, Rear Carbon Damper Stay, Alum Racing Steering, Carbon Steering Link, IFS Rocker Arm Set. However… when you get the Upgrade set…
The steering and suspension setup is different – it’s from the TA06, so all three steering hop-ups can not be used… bummer. The kit comes with TA06 Carbon Reinforced N-Parts and no ball bearings to go with them, nor does the FF03R kit. For all the money both kits cost this is very cheap from Tamiya. I bought the TA06 Alum Rocker Arm Set instead.
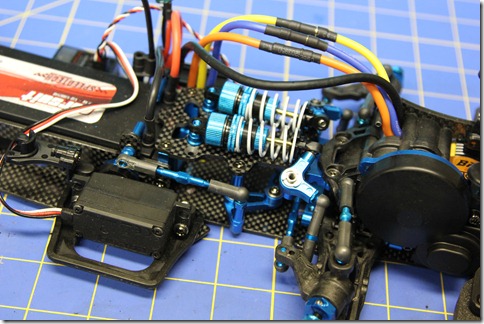
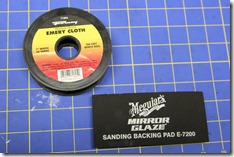
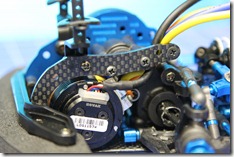
The Carbon Motor Stay is heavily discounted on TamiyaUSA website and I wonder if it’s a bad part/idea compared to the FF-03 M Parts? After much sanding (of both carbon fiber and motor tab). I could finally get the motor tabs to fit under them at the only angle possible. The picture below shows how tight a squeeze it is. Straight tabs will be easier than the Novak Ballistic 17.5 L shaped tabs.
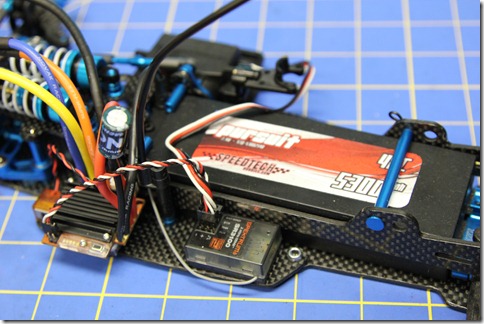
Other electronics used for this one is the Spektrum SR3100 DSM2 receiver, Novak Edge 2s ESC and the trusty Futaba S9551 servo.
It’s also nice to finally be able to use non-stick pack batteries. This time I used Speedtech Pursuit 5300mah 40C 7.4v Lipo great price.
The screws included are JIS (Japanese Industrial Standard) Phillips and not Hex.
I put on my old Subaru TT01D body (getting a Scirocco body ready for it) and went to West Coast RC Raceway in La Mirada, CA. It is a really good facility. Just call ahead and ask if onroad practice is open. 99% of the visitors there are offroad (and really really good!). Just make sure you have COLD weather tires. Track temp is very low and since it is indoor, sun is no help. I had to glue up a set of Sorex 20R tires to get any grip at all. It actually made me order some tire warmers from speedtech, but more on that later The car was really responsive, super sharp turn in, stable rear end, could drive the whole track at full throttle. Using stock timing and gear ratio. I cranked the timing as far as Novak recommended, but did not get that much more speed out of it. Will have to see what I can do with the gear ratio. Which might be tricky seeing how hard it was to get the motor tab to fit.I have not yet put a stabilizer set on it (it’s in the mail). Might not need it? Will see how it behaves at the Tamiya Track in Aliso Viejo, CA before I decide.
Unfortunately I cannot tell you how it compares to the FF03, FF03Pro or FF03R… since this fully upgraded one is the first one I had… I sure have a lot of FF03 parts left over!
Tuesday, December 18, 2012
Tokyo Trip – FF03 Upgrade Set acquired
Just came home from a quick trip to Tokyo. Went to different RC shops in Akihabara and the Tamiya Plamodel Factory in Shimbashi.
Especially excited about the FF-03 Upgrade Set. Also got some replacement belts for the M-Four, have a feeling they will be rare in the future. Needed a box to put all the parts in so I snagged a Subaru BRZ R&D which looks really nice (have a Nissan R390 GT1 coming in the mail soon as well).
Thursday, December 6, 2012
Tamiya TA-05 M-Four Upgrades
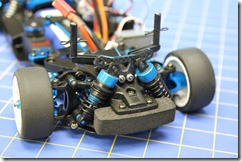
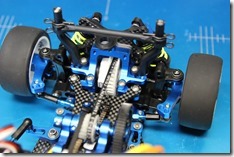
Here is the rear end of my TA05 M-Four. I got a couple of TA05 aluminum bulkheads from speedtech. I got the 1C suspension blocks to get some more toe in and I put the hard M05 stabilizer on there. Note that getting the rod stoppers require bending the stabilizer quite a bit. I also got a set of touring car dampers and used two of them on the rear. I have soft touring car springs on.
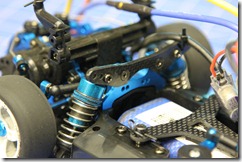
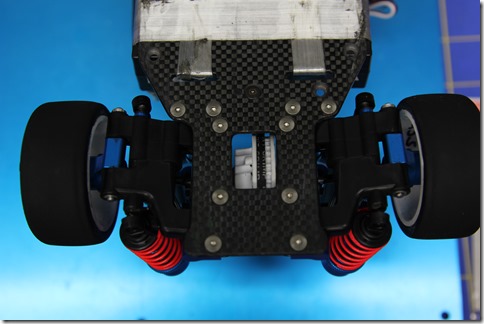
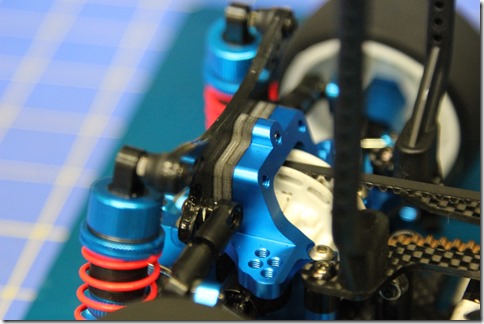
Here is a shot of how the split suspension blocks would hit the normal placement of the front M05 stabilizer. I recently started building an M06 and it had quite a different mounting location. But they won’t fit either because it would hit the body posts mounted to the bulkhead. Another note about these aluminum bulkheads is that they have four holes on each side for body post mounting positions, but the plastic ones in the kit have five and one side needs to be a little “twisted”. So if you already cut the little nubby underneath per the manual step 30 (page 16) you will need an extra set of body posts (B-parts).
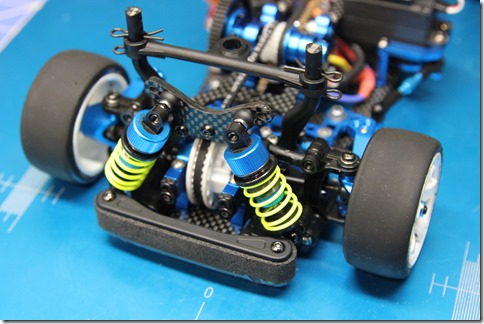
A shot of the front end. These have the Shorter Mini Dampers. I also got Fluorine Coated suspension balls to use in the new suspension blocks. I have medium short springs on there at the moment. I may switch back to soft depending on how this feels.
Underside shot of the rear end. You can see the stabilizer mount points fit perfectly. Also got some (normal) TA05 Titanium screws on sale a while back. I’ve been scraping the bottom pretty good on this car so far. Trying some new screws to see if they hold up better.
Also got two sets of Carbon Mount Spacer for Damper Stay. Normally you would use one in the front and one in the rear I think. But the plastic bits that come with the kit are double the thickness of one of the carbon ones. Does this make any difference when driving? Probably not… I have not been able to test the car on the track yet.
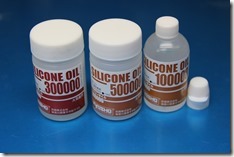
I put some 300,000 weight “oil” (it’s more like paste!) in the front gear differential. Someone else at the Tamiya track is running a spool. I figured I would try different things to learn more about a gear diff and it’s effect on car handling. The rear diff has the kit 1000 weight oil. I rebuilt both diffs after noticing that they had leaked quite a bit in limited running. This time I sealed them off with Team Associated Green Slime. We’ll see how they hold up.
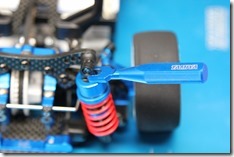
The picture above on the right shows a very easy way to get dampers, turnbuckle adjusters, etc off. Just insert as shown and twist off. Better than pliers!
I’m still investigating what I can do for the front stabilizer. And I’m going to get a Setting Spacer Set for the carbon damper stay.
