Tuesday, September 29, 2009

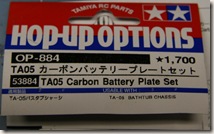
53884 TA05 Carbon Battery Plate Set

IMG_8799

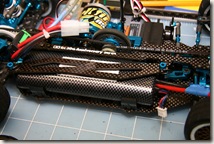
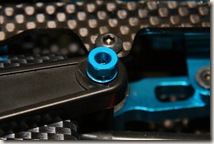
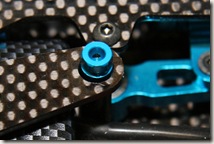
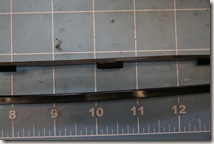
The Porsche Turbo RSR 49400 kit was pretty carbon fibred out, except for the battery plate cover. Which is plastic. So the idea is/was to tape a TLU01 and TLU02 unit to either of the two covers and be able to more quickly swap that way. But there’s a snag. The carbon battery plate fits rather poorly, at least it does on the 49400. Some dimensions for comparison below.

Battery Cover plate thickness Post hole diameter
Plastic 4.9mm 6.2mm
Carbon 2mm 6.5mm

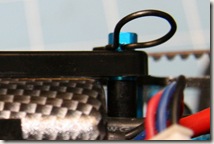
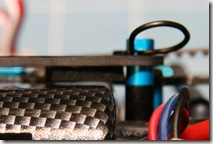
you can click on the images below to see a larger view, notice the much tighter fit of the plastic part on the left.
IMG_8809 IMG_8810

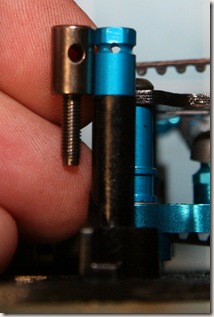
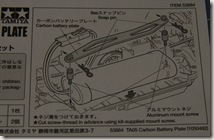
IMG_8803 The thing that puzzles me the most is that there’s a 3mm difference in plate thickness, but the blue aluminum mount screws that come with the plate (goes nice with the rest of the 49400) have the snap pin holes in the exact same place as the mount screws for the plastic plate!? As a matter of fact, since the pin hole is slightly smaller, it’s a bit higher. The remedy for this (according to the instructions that accompany part 53884) is: “Cut screw-thread in advance using kit-supplied mount screw” I’m not sure what that means exactly… My guess is that they want me to cut IMG_8798the plastic posts that he mount screws are supposed to go into? Which maces it impossible for me to switch back to the plastic one (remember what I wrote earlier about being able to trying to have LED units taped on one of these).
 

Instead of cutting the plastic posts I put some sponge tape on the back of my carbon plate, unfortunately the kind I have isn’t thick enough to prevent the plate from being loose.

IMG_8800 IMG_8802

The part comes with a different snap pin, which is much harder to remove, I decided not to use it. Below, the plastic plate on the left, notice the gap still present on the right and imagine the slop without the sponge tape!

IMG_8808 IMG_8806

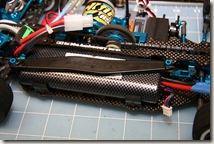
Finally a couple of shots of the two different plates from further back.

IMG_8807IMG_8805

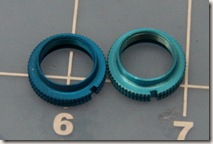
So in conclusion, the carbon plate and the blue aluminum mount screws improve the look of the kit but it fits very poorly out of the bag. Had Tamiya drilled their snap pin holes 3mm further down on the mount screws and made the holes on the carbon plate the same as their plastic plate this would only have been a one picture post about how sweet it looked!
Sunday, September 27, 2009

Fuse for Futaba ESC found!
Big thanks to an anonymous post (and zero thanks to Futaba customer service) I was able to find the replacement fuse for my MC401CR. I just ordered from Mouser Electronics two littelfuse 0895030.Z (since I have two of this ESC and this might happen again!) and one 0895040.Z for my MC601. They were only US$3.80 each…

Tuesday, September 22, 2009

Sunday, September 13, 2009

Tamiya 49400 - Porsche Turbo RSR Type 934

IMG_8674

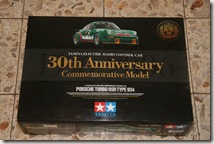
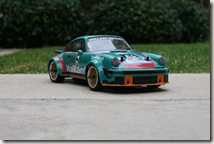
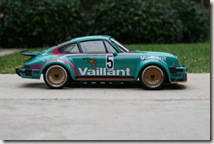
I didn’t have any belt driven Tamiya cars, so I looked into the TA05, but none of the bodies really excited me. I also have a tendency to buy the stock kit and then buy a ton of hop-ups. This time (one might say in a moment of weakness) I got it all hopped up from the start. I was browsing on Ebay when I found “the 49400”. It is by far the most expensive kit I’ve gotten and probably ever will get. Some people will reserve this kind of car for display or keep it in the wrapper as a collectible, me, not so much... I will take this car to the track! I consider it a crime not to :D
IMG_8493 IMG_8494

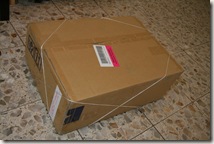
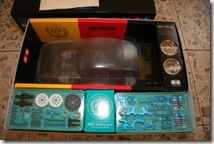
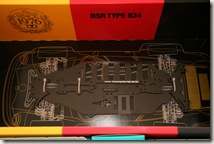
The box arrived safely from Hong Kong.

IMG_8499IMG_8502

IMG_8503 IMG_8503

IMG_8506 IMG_8505

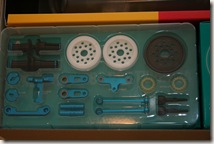
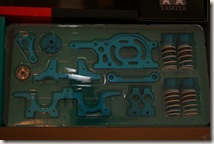
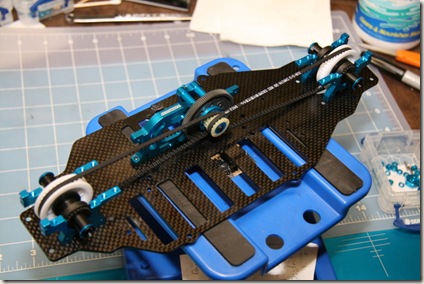
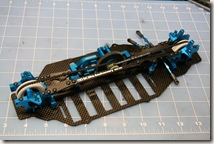
Unboxing the car was great fun, I love how so many of the pieces are on display. There’s very little plastic in this kit, mostly anodized aluminum and carbon fiber. In past I’ve built the car and then worked on the body, this time around I worked on the body first and then started to build the car.

IMG_8512 IMG_8514

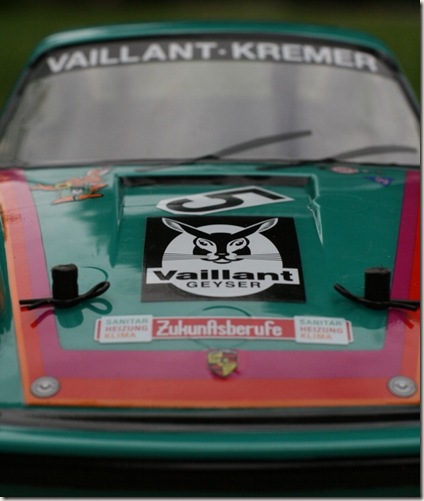
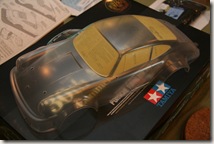
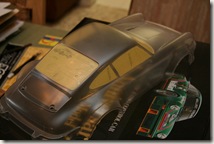
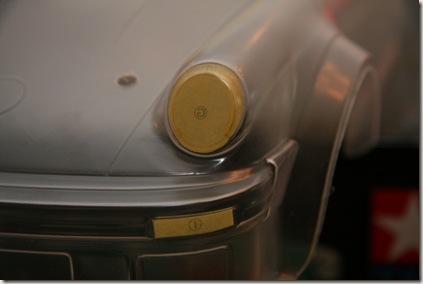
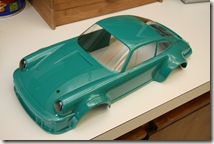
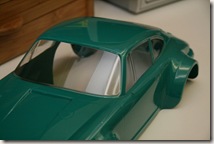
The lexan body almost ready for paint. I chose to stick to the original color and got a can of PS-54 Cobalt green. The plastic spoiler is actually cobalt green, so if you chose a different color scheme you’d have to paint that as well (the side mirrors looked so close in color that I forgot to paint them the suggested semi-gloss black). The 49400 also comes with LED holders, I chose to mask off the headlights etc At some point I will put LEDs in this.

IMG_8518

IMG_8566 IMG_8569

body after two coats of paint, didn’t seem like it needed a third like I’ve had two with the metallic paints.

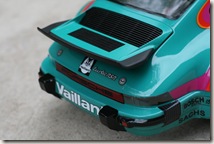
After painting the car I moved on to sticker the body, the 49400 comes with two sheets of stickers. Some of which was pretty intricate, cutting out all the bits that make up the rear bumper was especially tricky. Honestly I should’ve used liquid mask and spray painted the rear bumper black.

IMG_8602

The motor mount and the lower portion of the bulkhead installed. This was before I realized that I had inserted the cap screw on the wrong end of both differential cups (aka the IKEA principle ;P)

IMG_8603 IMG_8604

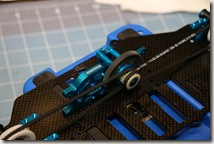
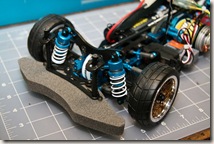
Below, the front bulkhead and steering linkage finished, it was great to see how little play, yet how freely the steering linkage moved compared to my TT-01D.

IMG_8606

The carbon fiber upper deck went on next, it has “RC 30th Anniversary Since 1976” printed on it (I was only a one year old when Tamiya started making RC cars).

IMG_8612 IMG_8616

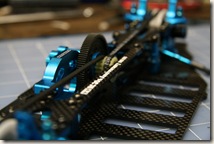
I hope I never have to replace the belts on this thing, it would pretty much be the same as rebuilding the entire car…

IMG_8621IMG_8618IMG_8619

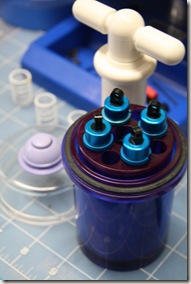
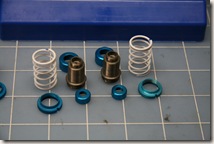
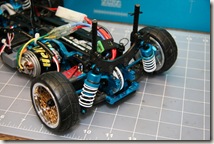
The suspension ready to go on the car, I used my Tamiya silicon oil air remover. It gets the bubbles out as well as makes it a nice stand to keep them in. The car is more stiffly sprung in the front than in the rear. One of the spring retainers that goes on the damper cylinder was much lighter shade of blue than all the other anodized aluminum. Quite strange, something I didn’t expect in a package of this quality.

IMG_8777

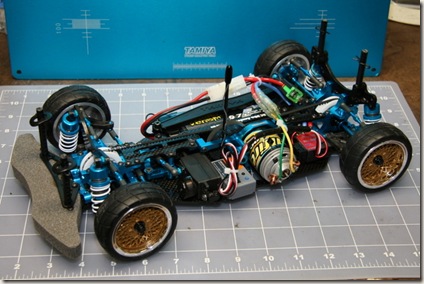
Car is ready to go, I used the Futaba S9551 and put the receiver on the  lower deck instead of on top of the servo, that way I can hopefully fit a TLU01 on top of the servo. I’m not sure where I can put a TLU02.. maybe tape it on top of the battery plate?

IMG_8780 IMG_8783

I really like the tires on this car, I’m going to try to preserve them as much as possible. The wheels are 26mm wide the rears were offset 5 and the front offset 2. So far all the GT wheels I have are offset 0 dish wheels, I wonder if/how they will fit on the track. I’m also unsure of what compound the kit tires are? The f201 tires for instance looked great but became slicks in a very short amount of time.

IMG_8778

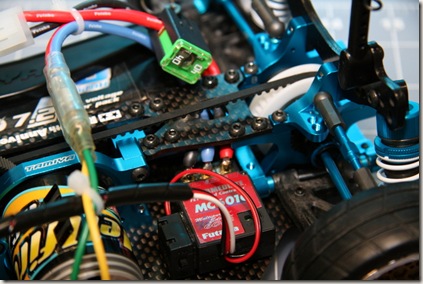
The Futaba MC601C ESC has 3 wires and uses a Y-connector wire for the battery and motor, because of that I had to route wires over and under the belt. I’m a little nervous about that, I used a couple of zip ties to keep it tight… we’ll see how it goes on the track…

IMG_8691

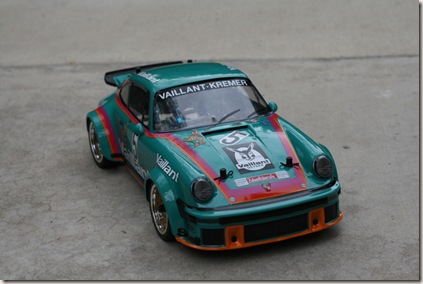
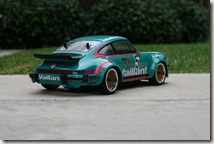
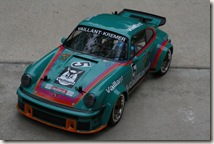
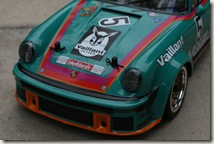
The 49400 all stickered up and ready to go!

IMG_8633 IMG_8640

IMG_8645 IMG_8649

IMG_8653 IMG_8657

IMG_8672IMG_8673

IMG_8681IMG_8684

And that’s all I have about this spectacular kit so far. I feel very lucky to own one of these and can’t wait to see how it is to drive!

IMG_8497