On this site I'll try to cover all the things I do with my Tamiya cars. I'm just a regular guy that wants to share his excitement and maybe give some useful information to someone along the way.
Sunday, December 22, 2013
TRF418 finished
Wednesday, December 18, 2013
TRF418 arrived
Monday, December 16, 2013
Hopping up my TA06
- 54485 - TA06 Aluminum Bulkhead - Front
- 54492 - TA06 Alum Damper Stay Mount - For STD (not IFS)
- 54486 - TA06 Aluminum Bulkhead - Rear
- 54308 - TA06 Alum Steering Bridge
- 54310 - TA06 Alum Racing Steering
- 54498 - TA06 Carbon Side Brace
- 54314 - TA06 Carbon Battery Holder
- 54324 - TA06 Carbon Damper Stay F
- 54325 - TA06 Carbon Damper Stay R
- 54429 - TA06 Aluminum Rear Upright - (0 Degrees)
- 54373 - TA06 Aluminum Rear Stiffeners
- 54371 - TA06 Alum Motor Mount Adapter
- 54172 - TA05VII Separate Sus Mounts - Version II (1A-1XA) x 2 (F & R)
- 50994 - 5mm Suspension Balls
- 54069 - TB03 Sus Mount 1A
- 54072 - TB03 Sus Mount 1D
- 54450 - 18T Aluminum Pulley - For TA06/XV-01 x 2 for center pulley. I got three but couldn't figure out how to mount it on the rear.
Some more parts are in the mail/waiting to go on:
- 53928 - Short Reversible Sus Arm (stiffer than the kit ones)
- 54309 - TA06 Stabilizer Set
- 51332 - TRF416 Front Upright
- 54546 - Carbon Rein Hub Carrier - For Reversible Sus Arms (6Deg)
Reviving lipo trick
Tuesday, August 13, 2013
Tamiya HQ visit, Shizuoka, Japan
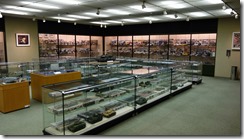
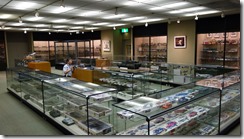
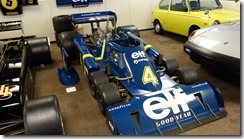
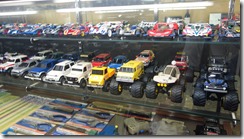
During a recent business trip to Japan I was lucky enough to have an extra day to visit the Tamiya HQ in Shizuoka, Japan. In order to visit you need to call in advance (Japanese only, a friend of mine arranged it).
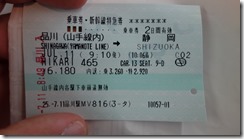
I was staying in Tokyo, very close to Shinagawa station and my friend also helped me out with which trains to take:
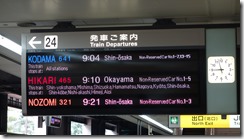
Shinkansen has 3 grades named "Nozomi (=hope)" "Hikari (=light)" "Kodama (=echo)". Nozomi is the fastest one, but no Nozomi stop at Shizuoka-station. Hikari is the middle, there are 2 Hikari per hour during the day, but only one stops at Shizuoka. Leaving Shinagawa-station 10 minutes past every hour and it takes 56 minutes from Shinagawa to Shizuoka.
Kodama is the slowest Shinkansen and stops at every station. Leaving Shinagawa-station at 04 and 34 of every hour and takes 79 minutes from Shinagawa to Shizuoka. The cost of non-reserved is 5670 yen for one way ( same for Hikari and Kodama) .
So I got my ticket at the machine (pretty easy, English language available) and was on my way.
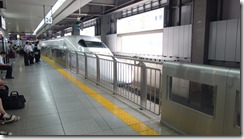
It’s a very nice trip and if you are lucky you can see a view of Mt Fuji on the right hand side of the train. Once in Shizuoka, I grabbed a Taxi and used a cheat sheet my friend had prepared.
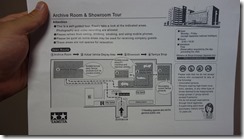
Once I arrived, I walked in the main entrance and gave them my name (have to make reservation remember). I was given a map and was free to walk around for as long as I wanted.
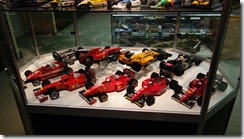
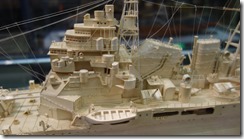
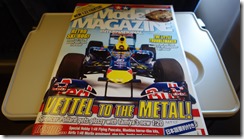
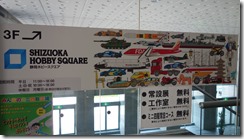
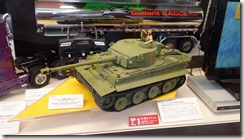
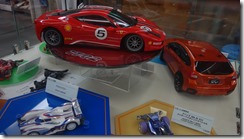
I spent an hour and a half in the showrooms before I asked the receptionist if she could call me a Taxi to go back to Shizuoka station. She gave me a Model Magazine, took my picture and also told me about Shizuoka Hobby Square, which is right next to the train station, so if you have some time before the train leaves check it out. It has exhibits from other model companies that are also based in Shizuoka.
After visiting Hobby Square I got the next Hikari back to Shinagawa and read the Model Magazine on the way back.
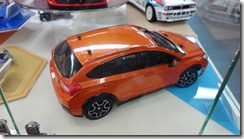
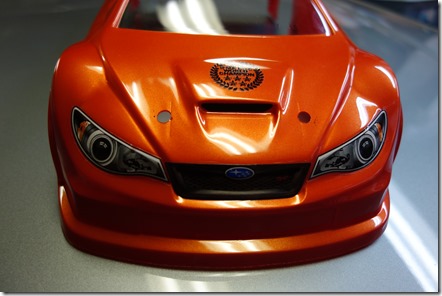
PS-61 Gorgeous metallic orange
For some reason this paint is not available in the US yet. I’ve seen it in Japan and I ordered some from China that finally arrived. I tested it out on an HPI Subaru Type C. It’s not a Tamiya Body, but it is Tamiya Paint! :)
Sunday, June 2, 2013
Wednesday, March 6, 2013
Tamiya XV-01 Pro Camera car
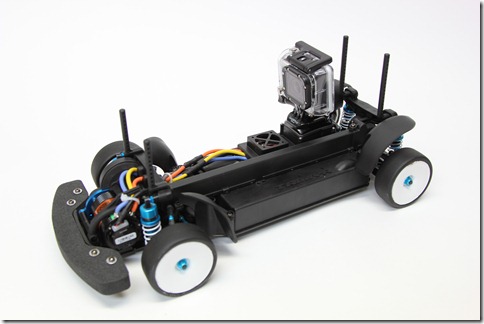
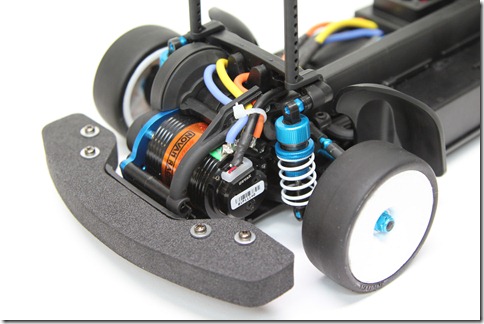
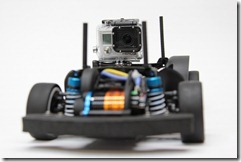
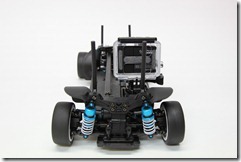
When I first saw the XV-01 Pro I thought “camera car”. The drivetrain and electronics are nicely protected so you could drive it without a body if you wanted.
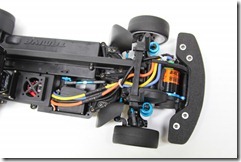
The manual suggested that the speed controller be placed all the way in the back, but the sensor wire is not long enough for that. So I put it in the front and left the top cover off to let the heat from the Novak Edge ESC out. Overall the wiring was a bit tricky. I ran my wires underneath the front damper stay. And inside the battery compartment things are a bit tight as well. I used the Spektrum SR3520 micro receiver which is underneath the camera mount.
For this build I got a 21.5 Brushless Novak Ballistic motor, I removed portion of the motor tabs for easier soldering (tabs were L shaped and I made them I shaped). The gearing had to be changed to bring it up to speed, the manual gear ratio is for offroad. So much so that I had to dremel the gear cover to keep my 54T pinion from rubbing.
After a driving a few laps with it you could really feel the lack of aerodynamics. So I set out to find a body that would cover the camera.
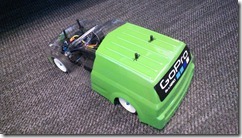
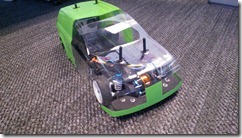
The answer, a Parma 2003 Saturn VUE (SUV) body for just $18. I painted the rear half bright green so other cars on track would see me, but left the front half clear so that the camera could see out.
I could go much faster with the body on and as an added benefit I could start using “the frame” from GoPro meaning better sound and picture.
The GoPro can see quite a wide field of view, in this picture the camera can see the vice and the can of WD40! There are three settings for this on the camera itself. I prefer wide for RC racing.
The camera can do 1080p @ 60fps but also 720p @ 120fps. However for 120fps to look ok you need bright sunlight. I tried this at West Coast RC Raceway (indoor) and it came out very grainy.


